Garbage disposals are must-have in any modern kitchen mostly, because it makes it easy to grind your waste food. Most people can’t work without disposers. It makes your work way easy you know.
When you use it correctly, it not only reduces the garbage but also reduces the need to call a plumber every time due to clogs. The fact that you have it means that at one point you will need to install a new one.
When you are going to install the garbage disposal, you will need basic plumbing skills. Which means that unless you are comfortable in the DIY projects it may not be advisable to install it yourself.
Do You Need It Really?
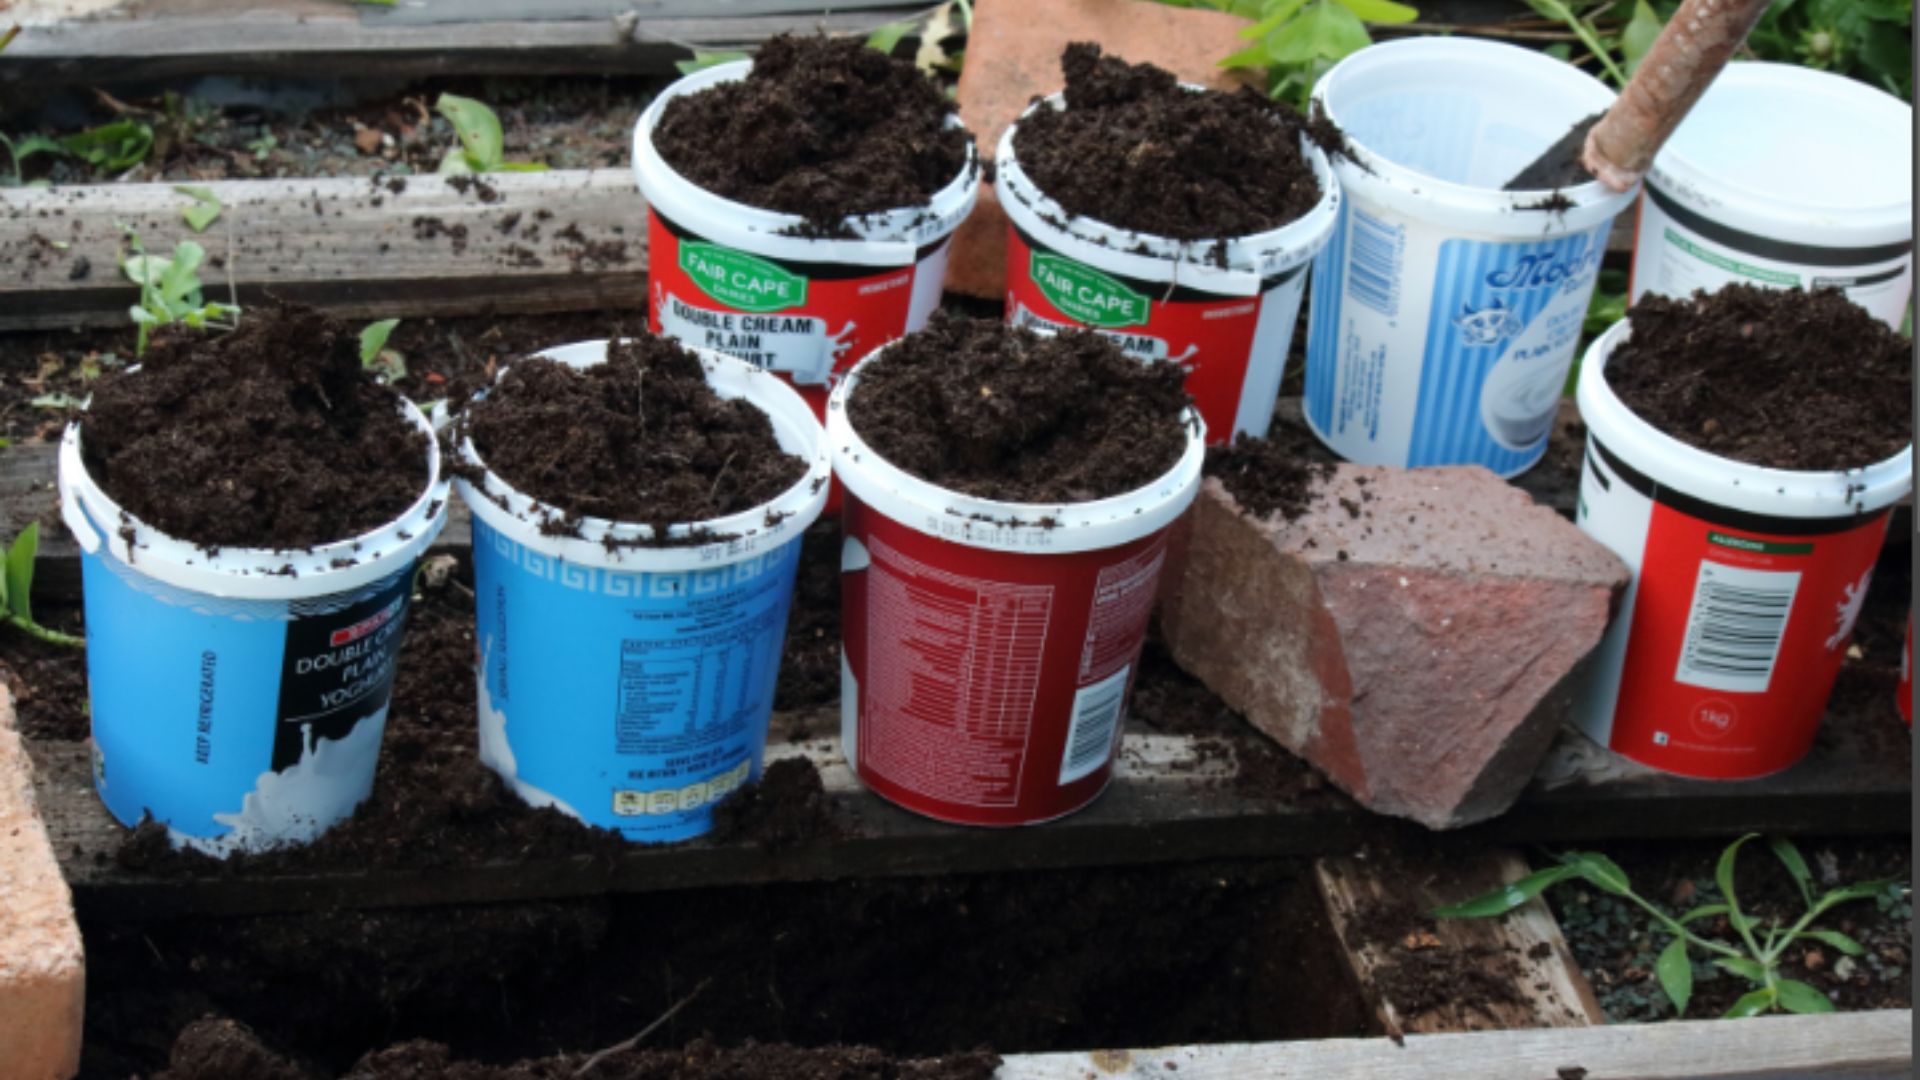
While we say that they are a must-have in the modern kitchen you can work without them. The reason is that disposers have been a source of more challenges to the city sewer system. Most of the cities are today calling on its people to go back to the compost method.
If you are installing the disposer for the first time, there are questions you need to answer. Do you need it? For most people, this was to be a luxury tool.
However, the question is it a luxury tool as earlier believed? You need to do a lot when you have it or else it won’t serve you. This beats the logic of it being a luxury tool.
More environmentalists are asking questions, and they have formed a movement to get rid of the garbage disposals in the kitchen. Whether they will succeed is something we are yet to see.
Almost every house in America has a garbage disposal unit. People today believe that we all need the disposer somehow.
You should know the disadvantages of having a garbage disposal. It has made most cities spend millions of dollars per year on the drainage. This is because you can’t control how people use the disposer.
Some people use it for all the wrong reasons which go to cause clogs in the drainage. You can’t even use it in the rural areas because there’s no proper set up of sewerage system.
Know that you will need a lot of running water to maintain it and work with it. Also, unless you can use it right, you should avoid it by all means.
Is It Easy To Install The Garbage Disposal?
Of all plumbing roles, installing the disposers should be one of the easiest processes. It’s not hard but will require a bit of time and concentration through the process. This is especially true if you have the dishwashers.
You will need necessary plumbing skills though, but if you are aggressive enough, you should install it on your own even when it’s your first time. Just remember to have a way to hold the disposer in place for a short while.
Additionally, you will need the right tools to make the installation a breeze.
How Long Will It Take To Install The Garbage Disposal
If you have bought the right garbage disposal with the needed tools to finish off the installation, it should take you just a few hours. If you are however skilled in the same, it may even take you just a single hour for the same.
Don’t worry, though, if you want to get it right, you must get it right. It won’t also take you a whole day, preferably just a few hours to get it right.
What You Need For The Installation
Of course, you will need a few tools to use here and there. But the most important one is the circuit breaker that has 20 amp and 120volt system.
The new garbage disposal unit and the mounting ring together with the drain fitting
Plug-in power cord
Wire nuts
Plumbers putty
Screwdrivers
Hammer
Channel type pliers
A bucket
A scissor jack
Cloves and safety goggles
How To Install The Garbage Disposal
Assuming you are installing the disposal for the first time, you will not have a lot to do as opposed to when you replacing the unit. You must remove the disposal unit in this case.
Remove The Old Garbage Disposal
For you to remove the disposer, you will follow the following steps.
Switch it off and unplug the disposer. Often, it involves just unplugging it from the primary power source. Next, go and switch off the power at the circuit breaker; this keeps you safe while operating this appliance.
Now go on to disconnect the drains, which include the waste line and dishwasher lines. Finish off this by disconnecting it at the sink flange. Remove all parts of the disposer and set them aside. My advice is that you should never use the same gadgets you used with the old disposer.
Install The Garbage Disposal
part of Garbage Disposal
Before you start the process, you should know the anatomy of the garbage disposal and its drain lines. This will guide you as you thrive to achieve the same image. The garbage disposal comes with the kit installation tools. You should know what goes where.
Before you even start the process, familiarise yourself with every other part of the disposer. Know what fits, whereas that will make your work way easier. For those with two sinks, fix the drainage part to the tee trap below the opposite sink.
Look for your support
Look for your support
You can use different methods of support for the disposer as you are installing it in place. The reason for this is that you don’t have to hold all that weight as you install. I like to use the car scissors jack as it can hold it right.
It further allows you to adjust the weight as you go on to install. Lastly, it keeps you safe from hurting your legs in the process.
Install The Drain Filling And Mounting Ring
Install the drain filling and mounting ring
The very first step to do is to install the mount ring assembly in place. It’s the part that will hold the disposer beneath the sink. So, on this level, you are focusing on the top and bottom side of the sink.
Seal the sink flange
Although some packages have the rubber gaskets on, using the plumber’s putty is nice since it gives you the proper seal. The way you go about this is to roll the putty to form a snake-like shape.
It should have about a diameter of 3/8 inches and then let it be long to surround the sink flange. Once you have the putty in place, you should clean the sink and make sure it has no debris or dirt.
Mount the sink flange
Mount the sink flange on the top side of the disposer. But don’t leave it at that instead pressure it in with one side of your hand. Moreover, ensure the flange is in place all this time. A good indication that you did an excellent job is when you see the plumbers putty oozing on the sides.
Once you know the seal is formed, wipe out the excess putty.
Now go on to the next step, which is to attach the mounting plate on the underside. If possible, have someone to press the sink flange down as you are working on the bottom.
Thus, fit the fibrous gasket and the remaining triangular attachment to the tailpiece that’s on the drain fitting. Finish off using the snap ring to secure the parts you just saw.
Tightening the mounting ring assembly
Tightening the mounting ring assembly
There will be three mounting screws, and you use them for the mounting parts. You should ensure they are tight enough. So, go to each of the different screws and tighten it. However, don’t over tighten it keep it moderately tight.
The essence of tightening it is to keep the disposer safe. You don’t want it to fall off amidst operation.
The Side Connection
Remember you will need the waste to pass through the disposer to the sewer. The connection between the sewer and the disposer is through the waste line that’s on the side.
The wiring
The wiring
You should never forget the power cord as that is the connection to the power source. While some of the garbage disposals don’t come with it, you should buy it on the side. Remember you must connect it before you finally mount the disposer.
Under the plate is the powerhouse of the disposer. So, you should remove it so that you access the wiring points.
The wire nuts will guide you on where to place each wire. The white leads you to the white piece on the power cord, and so doesn’t the black one lead you to the black wire.
Once you finish you can tuck the wires into the electric disposal section and then reattach the cover securing it in place.
Tip
Make sure you purchase the right power cord for the disposer. Confirm that it has the correct length to reach the receptacle.
To connect the dishwasher drain
To connect the dishwasher drain
Well, not all dishwashers drain to the disposer, but a majority do. The dishwasher inlet is often smaller, and it’s on the side.
Remove the knockout plug. You can use the screwdriver and the hammer. In short, you should find the breakout port in the inlet and remove it then you can connect the lines.
Mounting and securing the unit
Mounting and securing the unit
This is the part that you should consider the jack scissors it will help you to hold the disposer in place. You don’t have to hurt yourself in the process.
This is the most natural part though because you only need to align the three tabs then you can rotate the top collar part to keep it in place. The rotating process is going to tighten the disposer in between the sink and the sink flange.
I have found the easiest way to fix it in place is further to use the tongue and groove pliers. The best part is that it never hurts your wrist.
Now connect the drain line
Now connect the drain line
The discharge line has the rubber gasket and screws. You will need to attach it to the disposal to finish off the process. This is another essential connection that you should ensure it goes together with sink drain.
Finish off by connecting the dishwasher line. Fix it on the hose clamp.
The P trap
Finish off by connecting it to the p trap.
Look at all the parts to ensure the connections you did are perfect. Tighten the drain lines; otherwise, it begins to leak.
Once you have everything connected, then finish off locking the disposer and rotate it on the cam collar. Wait for it to click into place for you.
Inspect
Don’t just take a wall because you are yet to finish. You must confirm that you did the perfect installation.
Plug the disposer and switch on the power from the circuit breaker. Run the water into the disposal then switch it on to see if it’s leaking so that you will correct every part you didn’t tighten.
Installing The Disposer When You Have One Sink
The procedure isn’t very different from the option when you are installing the disposer to the double sink.
Safety first- you will have to cut the power supply first so switch off the circuit breaker and unplug it from the power source.
First- if you had an old sink, you will need to remove it. The removal process is not going to be different. Also clean the parts of the sink by wiping out the dirt and debris. Also, keep everything ready for the installation.
It should take you a shorter time to connect the disposal here.
So, like in the previous section, apply the plumber’s putty all over the sink flange. It should be about an inch long and ¼ inch wide. Then attach it on the top side of the sink. Push it in for it to attach well.
Next, you can attach the mounting assembly to the sink just like the previous double sink method. Thus, gather the fiber gasket, backup flange and the mounting ring. Insert them into the sink flange. Remember the snap ring is the one to hold everything in place.
Pull it to allow the three parts in the sink drain. Tighten the screws of the flange to give it a more secure fit. Finish off by cleaning the excess putty that could flow from the sink.
Fix the dishwasher drain
The disposer dishwasher inlet has a plug that you need to break to allow you to fix the drainage. Remove it using the screwdriver and a hammer.
Wiring
Some of the disposers will come with the power cord while others don’t. Whether they do come with the disposer or not, you will need to attach it. Therefore, you can buy one if your disposer doesn’t come with the disposer.
Remove the cover plate before you can attach the power cord wires to matching colors. Attach the black to the black wires and white to the with wires of the disposer and the power cord. When you finish, you can cover the electric box of the disposer again using the cover plate.
Now install the disposal unit
Take the unit and go under the sink to fix it. Some people can install it without help, but if you need help, use the scissors jack to keep it steady in position.
Insert the gasket to the discharge outlet, thus keeping the discharge section ready. You then have to align the discharge outlet with the sink drain.
Go on to align the top part to the mounting assembly. Fix it to the three screws you had in place. Go on to rotate the top collar place. Let it click into place.
Test it
Now you have finished the installation; you should start running the disposal to see if you fixed it right. Run enough water into the disposer to check if there’s any running water.
How To Wire The Disposer?
Without wiring the disposal unit, you won’t have a complete and working disposer. Here is the method to use. Some of you might not even know where the wires connections are.
The cover plate
The cover plate
The garbage disposal has a cover plate below it. You need to remove the plate so that you can reach the wires you need to alter. You will need a screwdriver to remove the cover. Just unscrew the one screw then you have access to the electrical box.
The next step is for you to attach the cable clamp to the open hole near the wiring section.
Now strip the cord wires
Although I’m one who is never so friendly to the electrical cables, I have seen my friends handle it with ease. Striping the wire is not strange at all.
Use a wire stripper to strip wire coating at their ends. Take off about ¾ inch on all the three wires you see.
Time to install the cord
Time to install the cord
Insert the stripped power cord ends through the cable clamp then take it into the wiring compartment. Then secure the cord in the clamp using the two screws available.
Connect the two wires
To begin to wrap the end of the bare copper of the green grounding wire that’s in the cord to the ground screw on the disposer. Secure the grounded screw on the disposer.
Next, connect your white wire on the cord with the white wire on the disposer.
Connect the black wire in the cord to the black wire to the disposer.
Finish the whole process by tugging the wires to make sure they are secure in the disposer.
Cover the disposer using the cover plate and don’t forget to screw it in place.
You now have ready disposal to work so you can plug it on power to test if it’s working. You can run the disposal to check it, make sure you run the water into the disposal.
The Importance Of Having A Disposal
While we are seeing almost all homes coming up today having a slot for the disposal unit, do you know the importance? There’s a debate about the significance of the same. Most environmentalists are in fact against it. But we are going to look at the benefits of having one.
Reduces waste
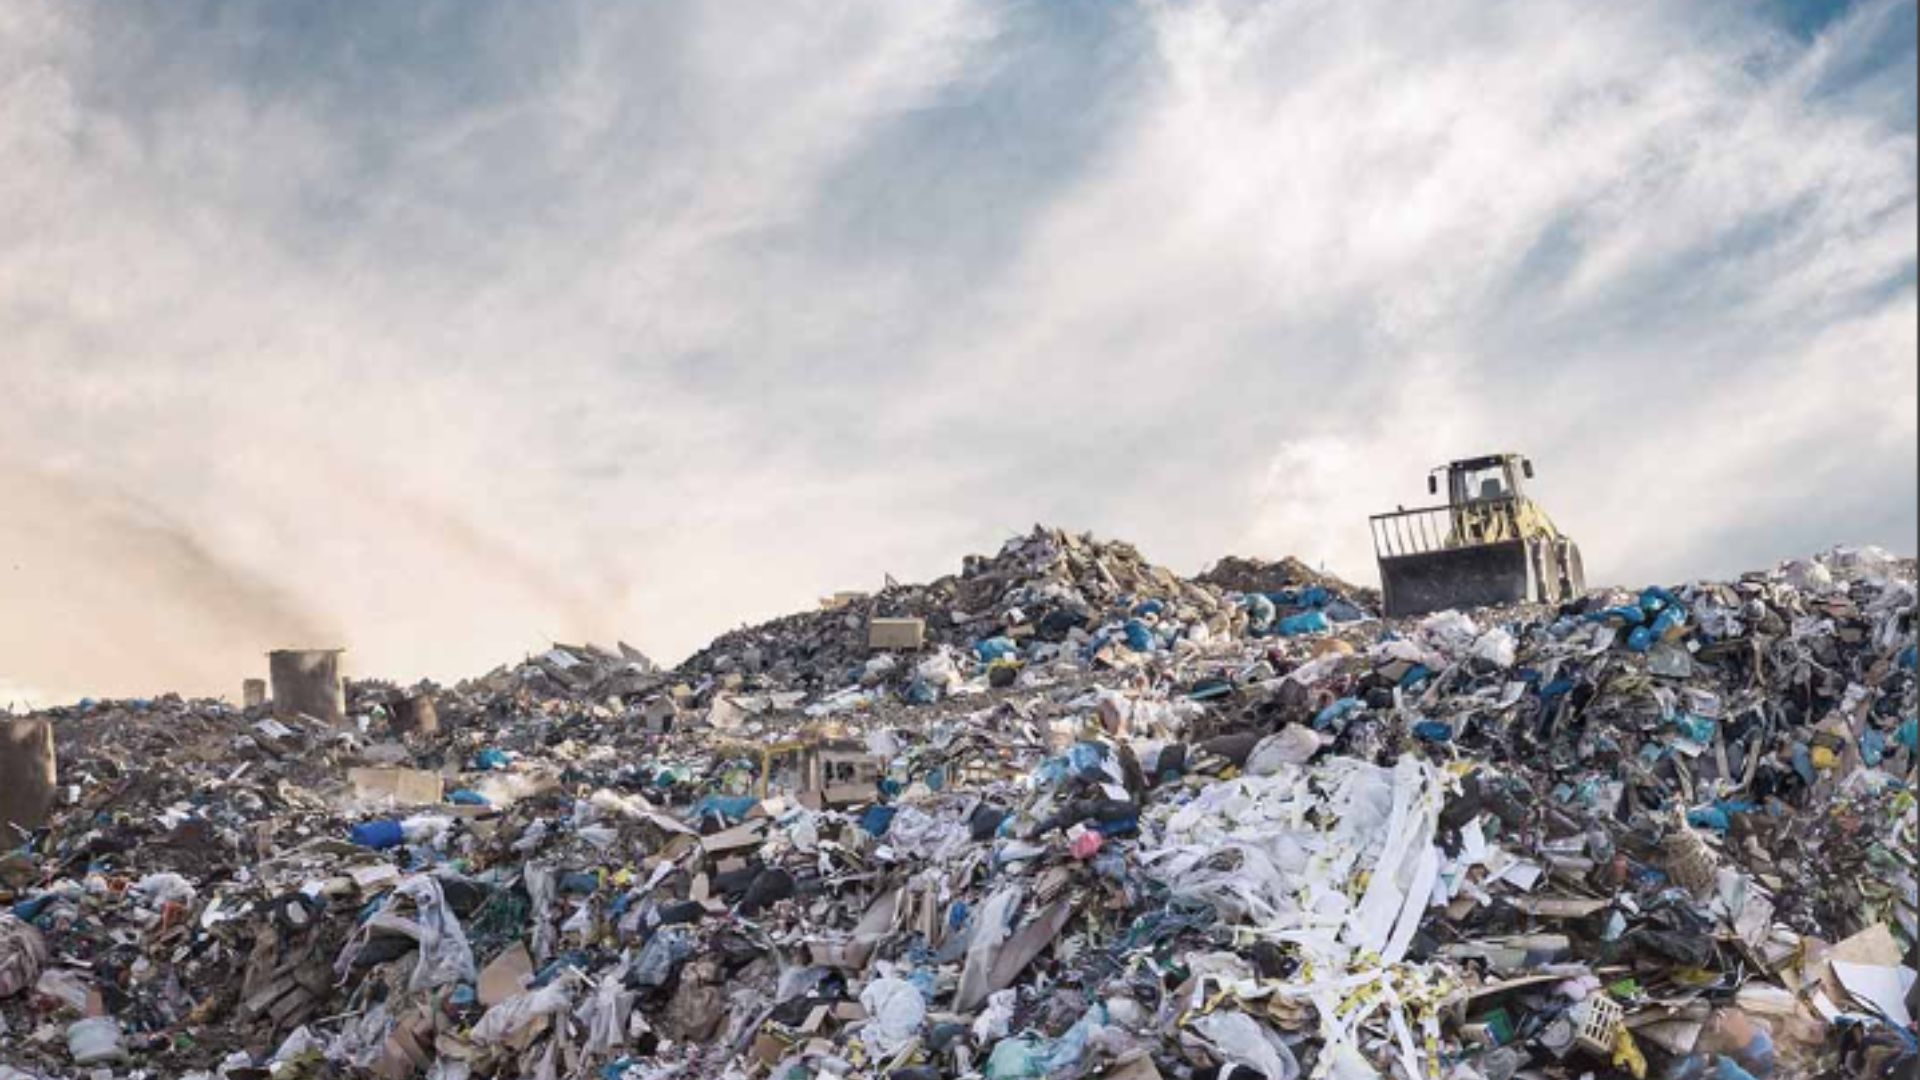
Unfortunately, much as the environmentalists are against the disposer, I can’t see one gadget that has come to cut the trash so fast. Taking the waste to the landfills makes it hard to decompose because in the landfills it’s a mix of many other different kinds of waste.
Let’s say you reduce about 30 million tons of waste that would have gone into the landfills. If the by-product is used well then both sides benefit the environment and us at home.
It’s affordable
Most garbage disposals are affordable, which means that we can all have it in the house. For $100 you can get a functional disposer yet it’s also easy to install. In fact, with the basic knowledge you need no plumber in your house.
It serves the environment when used right
For anyone who leaves next to the landfills, you won’t suffer from different health issues. This is because we reduce the waste ultimately. So, the formation of carbon dioxide and methane gas is reduced. But you should then use the disposer for only the right reasons.
Your environment remains clean and safe from unnecessary flies visiting because your garbage is overfilling. Remember, flies are a source of diseases.
FAQs
Who Will Install The Garbage Disposal?
You can install the garbage disposal yourself if you know how to. Alternatively, go to the plumber to do it for you only remember to use the licensed plumbers. Remember there are very many fraudsters today and you don’t want to be a victim of fraud.
Does Home Depot Install Garbage Disposals?
Yes, it does. They have the professional garbage disposal to install the disposal you buy from them. Whether you buy the disposal online or in their shops offline, they will fix it for you when you call them
Garbage Disposal Installation Cost
The cost of installation may vary from plumbing service to another. However, on average it will cost you about $185 to install a new disposer. Also, some charge you per hour and the hour cost ranges between $20-$40.
Also, it’s a bit expensive to install the batch disposal. You will use about $220 while the continuous feed disposal which is more common will cost you about $170.
The garbage disposal is quite common today, and thankfully, you can have very many videos showing you how to install them. So, you can use those as a guide. Hopefully this article also comes in handy when you need to do an installation.