There’s nothing so frustrating than switching your garbage disposal on, and all you hear is a loud noise, hum and no grinding at all. It’s even worse when you know the garbage disposal is in its very last leg and you don’t have a new one yet.
How To Replace A Garbage Disposal
Luckily as you will see, it’s not complex to replace the garbage disposal. You can do it without the need of a plumber. While most people fear the thought of mixing water and electricity during the installation, when you know what you are doing, it gets easier.
When To Replace The Garbage Disposal
Of course, you wouldn’t just wake up and want to change the garbage disposal for no reason. While any appliance like human life won’t last forever, there will be a few clear reasons why you want to change it.
Does It Clog Often?
It’s normal for the clogs to appear occasionally, but when you deal with it, frequently there may be reasons causing it. The disposer blades may have gotten dull. Sometimes it could be that your disposal is quite small it can’t handle the food waste you feed it.
Unfortunately, if the blades can’t grind the food waste properly, it will go and clog in other parts of the disposer. I often say if you need to grind large amounts of food, why not buy disposal with a high Horsepower.
It’s better to have the high-powered disposal because it allows you to grind all food sizes.
The Food Is Grinding Too Long
Regrettably, when the food takes longer to grind, it uses more amenities in terms of water and electricity. Often this is an indication of the blades getting dull or the motor being weak.
The Odor Lingers On
Sometimes you try everything to get rid of the odor, but it just won’t come out. You try all the deodorizing methods you know of and still the disposal smells. If this is the case, the disposal needs replacement.
Although, sometimes the smell is an indication of a clog in the sewer line and if you are lucky to get it out, you will be okay. But then sometimes the smell keeps on even after you have done everything. This is an indication that you should get rid of the disposer.
Unusual Sounds
The garbage disposal is one of the noisiest appliances in the kitchen, but then it shouldn’t be a screeching noise. You will find that when it makes the weird noises, it’s because there’s an obstruction that has gotten on its way in.
You can use the flashlight to check in the disposer and if you see any foreign object then get rid of it. However, if there’s no foreign object, and it still makes weird sounds, it could be that it has begun to lose its stature.
You can call the plumber if the disposer still makes the sound and if you can’t correct it, then you need to replace it.
It Won’t Turn On
The garbage disposal works every time you switch it on. But when a day comes and it won’t turn on, you should know that it has a problem. Before you decide to replace it though, check all the available options to see if you can correct the problem.
If the plumber then tries everything, they can to resolve the issue and you still can’t reset it, then you should replace it.
Leakages
Some leakages are normal such that you can repair it, but some get so bad. After ten years if you realize that the garbage disposal is leaking profusely, you should know that the disposer is reaching its final stages.
We are talking about the instances when you have done everything to contain the leakage, but it still leaks. Often the bottom leaks will occur when the disposer is entirely worn out, and you should dispose it.
Have You Frequently Used The Reset Button?
Do you need to press the reset button every time? This will be an indication of the garbage disposal failing. It’s okay to use the reset button, but it shouldn’t be an everyday business. It’s a good indication of the failing motor.
Is It Hard To Replace The Garbage Disposal?
To answer this, I would say it’s more about how invested you are in making sure you get the disposer to work. It’s not hard to replace it, and the only problem you may experience is in holding it in place as you install it.
You can find ways to hold it in place. Also, if you have the basic knowledge of wiring and plumbing installing it should be a non-issue. If you remain patient, you should do a good job. It will take you some time, but you will get it together.
Tools You Need For The Job
Needle nose pliers
Plumbers putty
Hacksaw
Wire stripper.
Hammer
Screwdriver
Hex wrench
Silicone
How To Remove The Garbage Disposal
Before you install another disposal, you will need to remove the previous one. Here are the steps to use in the removal of the disposal unit.
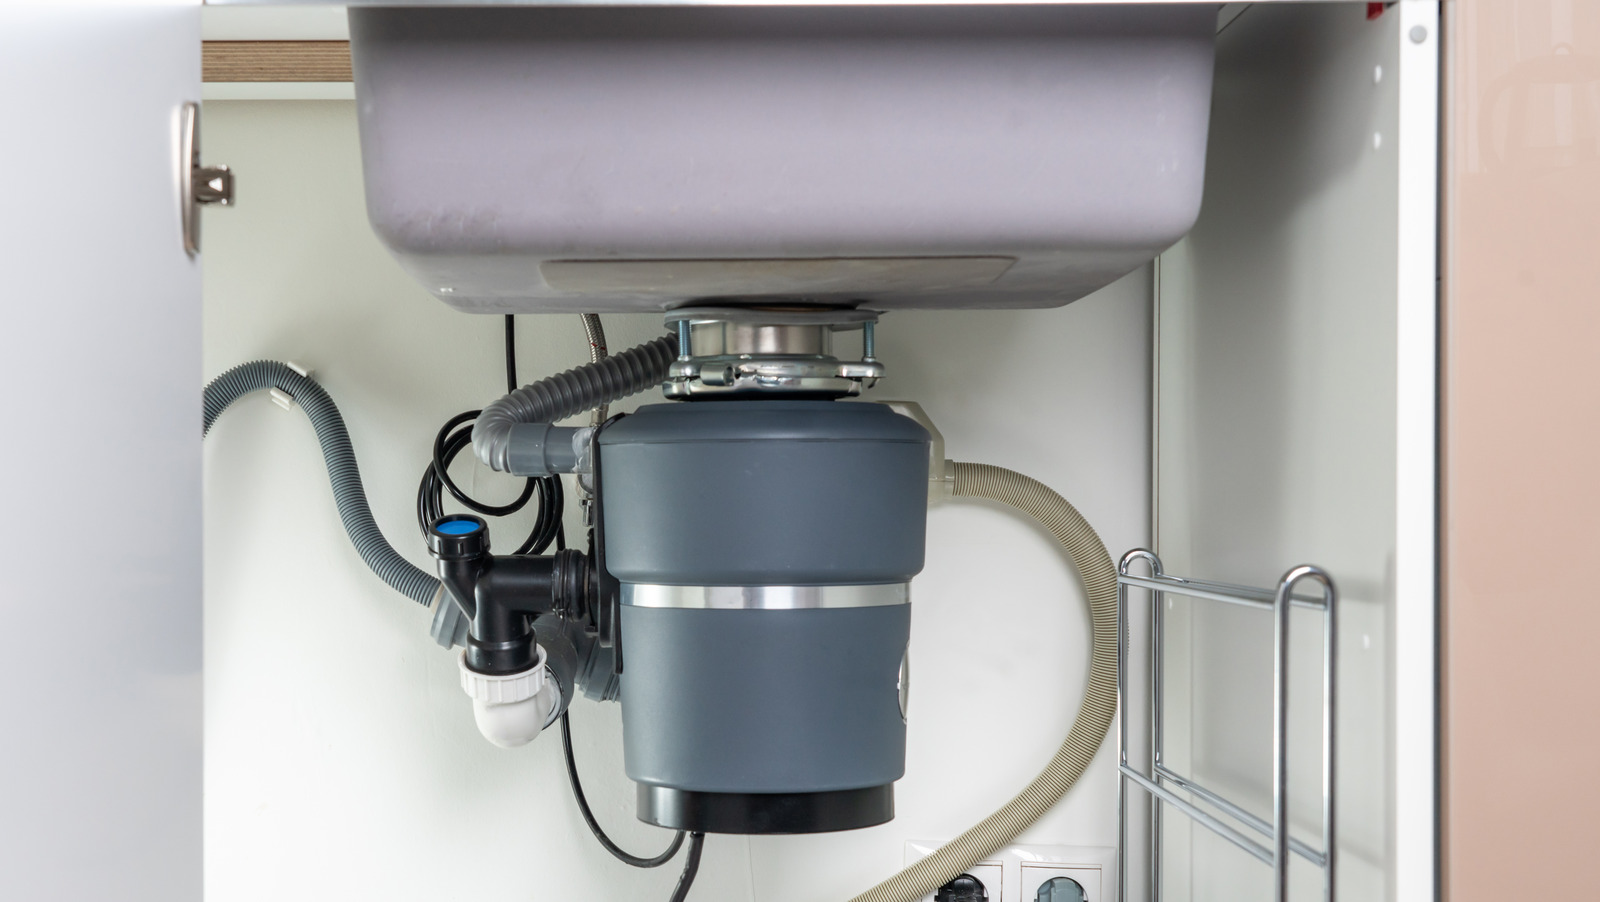
Removing The Drain Attachments And Wiring From The Disposal Unit
If you take a look at the garbage disposal you will realize that it has several attachments to it. It has an electric supply which powers the disposer. It further has the dishwasher drain, a waste line and a drain to the sink trap.
Safety First
Like any other tool in the kitchen, you will need to unplug it first. This is if the disposer plugs direct to the outlet. However, if the disposal is directly wired, check if the wires are long and leave them on but if not remove the cables too.
You should also disconnect the disposal completely. If possible, switch it off at the circuit breaker. Remember, you should never have the naked wires underneath the sink.
For the case of direct wires, you should go to the panel and then loosen the wires. Otherwise, unplug the disposer. Go on to the connections and unplug the waste pipes and the dishwasher pipes.
For this process, have a bucket beneath the sink then unscrew the drainage pipe. This prevents the flooding of the under the sink.
Go on to use the pliers to loosen the dishwasher drain pipes. Most disposers have a connection with the dishwasher. So, you can loosen the nut in a few seconds and have the disposer being free.
Finish off by loosening the two trap nuts to release the disposer and pipes out.
Now Remove The Disposer From The Sink
To finally finish the process, you should loosen the quick ring.
You can use the flat screwdriver and place it in the lower mounting ring. This is the ring that connects the disposer to the sink.
Go on to put the screwdriver on the lugs and then apply more pressure, give it one ¼ turn in the anticlockwise direction this will loosen it. Sometimes it may not turn easily, so knock it with a hammer to quickly turn it.
Stay safe as you don’t want the disposer to knock your legs. The disposer will come out immediately, and it’s heavy.
Remove The Disposal Unit Mounting Assembly From The Sink
For you to do a good job, you should remove the entire disposal unit. This will give you the chance to check the seals as well.
Notice that you will remove five parts of the disposer mounting assembly
Sink flange- it’s the one that’s visible in the sink. It gives the disposer an excellent finish while allowing everything into the disposal.
Rubber gasket- this part is essential mainly because it will prevent the leaking of the disposer.
Finally, it has the rings which include the upper mounting ring and lower mounting ring, and the snap ring will hold all other rings in place.
Finish off by loosening the mounting assembly. So, go down under and loosen the three screws. Once the screws are loose, you will see the snap rings with ease. It’s at the lower end of the sink flange.
Get the flat screwdriver then use it to remove the snap ring out. After you get the snap ring out, the other parts of the mounting will come out with ease. For example, the lower ring slides off.
Go on to pull the sink flange out together with the seal. Also, remove the plumber’s putty, and you are done with the process now you can replace it.
How To Install The Garbage Disposal
Once you finish the removal process, you can install the new hardware you bought.
Support The Weight
Support the weight
It should never be hard to install it but remember, you will need support weights. The disposer usually weighs around 15 pounds, which makes it hard to hold as you are fixing it.
You can use the tins and boards to keep it in position. But if you have a car, you can get a scissor jack for the support. I like that it can carry a lot of weight if you know how to position it. Know when to adjust the height, and it makes your work easy.
Seal The Flange
Seal the flange
So, for the other installations, you should first place the rubber seal under the sink flange. Some disposer units never have the seal though which makes it your duty to use the plumber’s putty.
Mount The Rings
Mount the rings
Go on to mount the ring using the three screws. Remember it’s the one to hold the disposer in place. Tighten the metal in place since if you leave it loose, it will not only hold the disposer in place but also prevent leaks.
Wiring
Wiring
Next up, you have the wiring process. Wire the disposer and seal the essential electric upgrades for the process. Attach the power cord to the disposer. Then bring down the circuit wires and conduit to the down part of the disposer.
To finish off the installation, connect all the wires from the sink to the disposer. Connect the white wires to white wires and red ones to red ones. To ensure you are safe, secure those wires with the nuts.
Connection
Connection
Once you have the wiring on, you can now attach the waste line pipe on the side of the disposer. Begin by knocking off the plug from the dishwasher drain line and then install the waste line below the dishwasher drain line.
Mounting the disposer
Mounting the disposer
Now, mount the disposal and use the help of the jack scissors to keep it in place. Now twist the disposer to place on the mounting nuts.
This should take you a few minutes and finally start running the water to see if you have any leakages.
Tips To Take To Consideration
Time
You should have the time. Don’t start the job if you have only an hour of lunch break; you won’t finish it. Be patient because you are handling electricity and water at the same time. You should confirm that you have all the correct installation before you start running it.
Safety Is Paramount
Stay safe, the disposer is heavy, and when removing it, you don’t want it to drop on your leg. Also, when handling the tools, you should keep your hands safe from knocks and cuts.
Call The Plumber
If you aren’t sure about the process and you are not a fan of the DIY, seek the help of the plumber.
Confirm Its Working
After installation always confirm that the blades are running, there are no leakages, it’s tightly screwed in, and it produces just the typical sound.
Basic Care Tips
Now that you have the new disposer on, you will need to take care of it if to enhance its lifespan. Below are the essential tips to follow.
Use cold water before, when grinding and after grinding. It lubricates the motors, helps the grinding process, and cleans up the disposer.
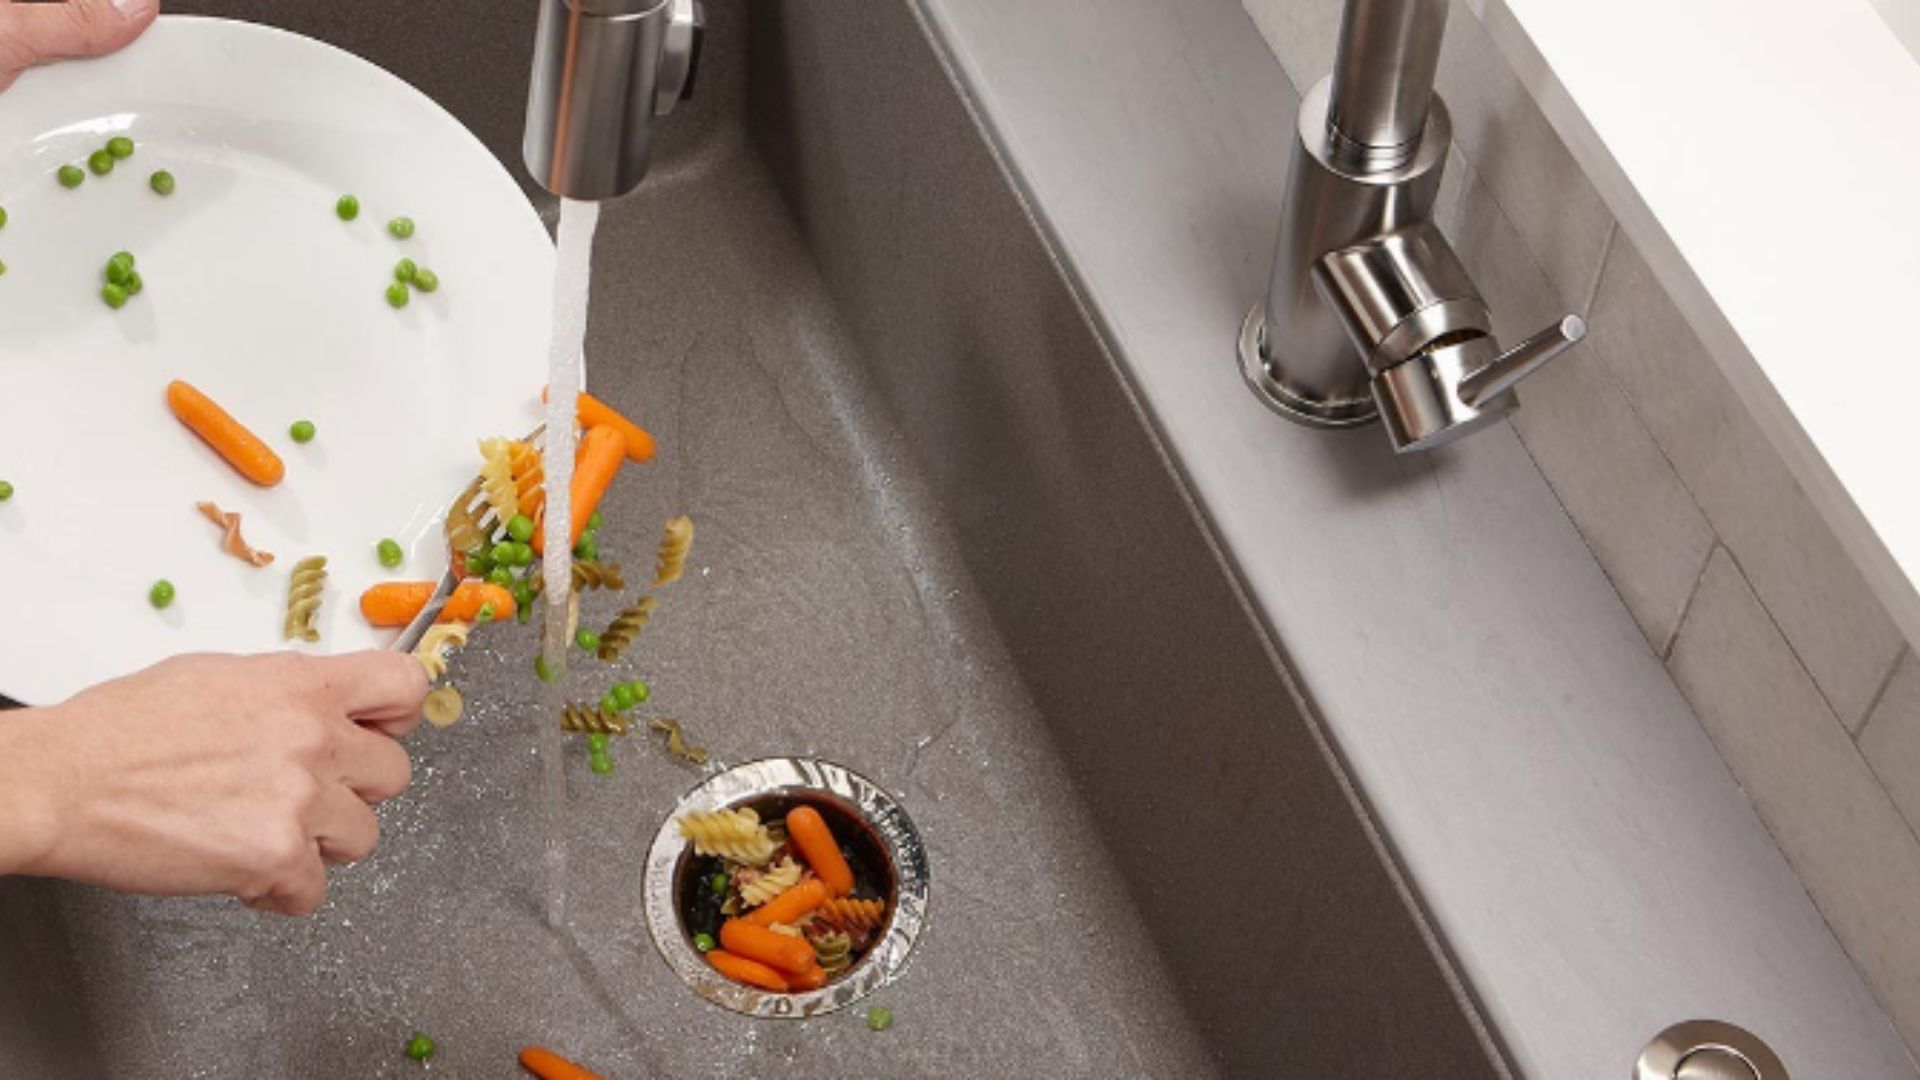
Know what to put in the disposer and what not to put in the disposer.
Watch it as it operates, and if you notice anything different, attend to it first. The sound changes if it has a problem. That will guide you in knowing that you should repair something.
Keep it clean but don’t use the bleaches and drain cleaners as that will erode it sooner.
During operation, don’t overfill it, let it work on a little food at a time.